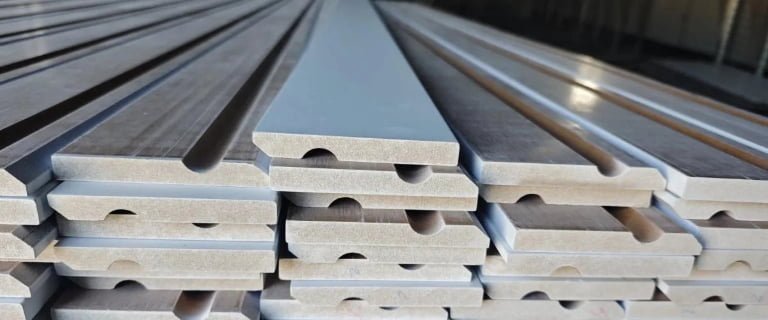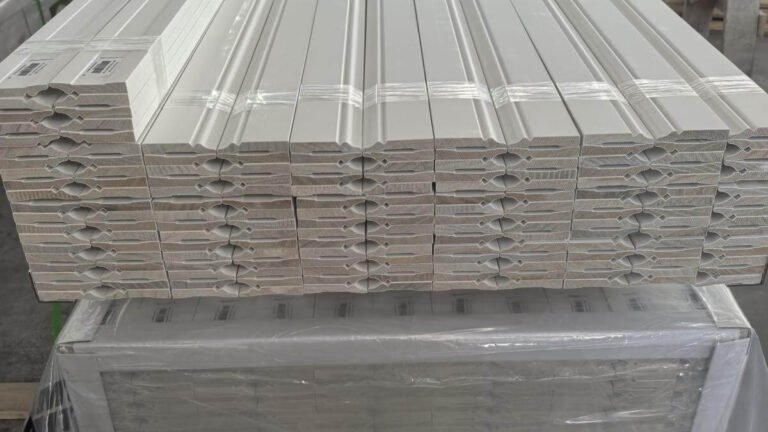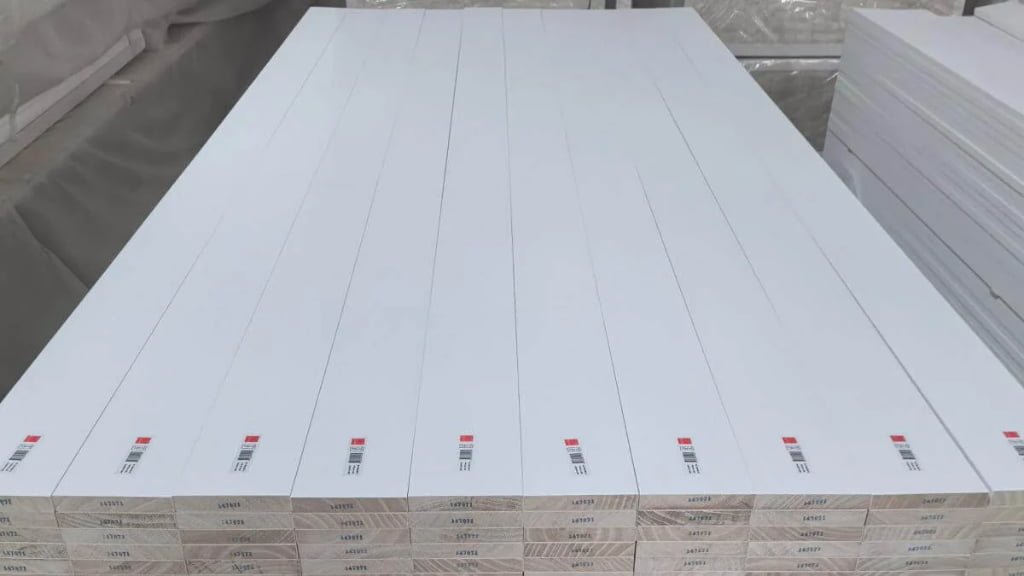
Nearly three decades of manufacturing finger-jointed moulding (also spelled molding in the US) across our 200,000 m² facility in Xiamen has taught us that some defects show up in the first inspection — and some don't show up until the moulding has been painted, installed, and lived with for half a year. Telegraphing is the second kind, and it's one of the most misunderstood issues in painted finger-jointed products.
If you've ever had a customer call back months after a shipment to report faint lines appearing through the paint at regular intervals, you've seen telegraphing. It isn't rare, and it isn't automatically a sign of bad manufacturing. But it is something every buyer of painted finger-jointed moulding should understand before they order — because how a supplier manages it, both at the coating stage and at the joint itself, tells you a lot about how seriously they take finish quality over the long run rather than just at the point of shipment.
What Is "Telegraphing," and Why Does It Take Months to Show Up?
Telegraphing is when the outline of a finger joint becomes faintly visible through an otherwise smooth painted surface — and it typically doesn't appear until 6–18 months after installation, not at the point of sale or initial inspection.
This delay is exactly why the issue causes so much confusion downstream. A batch can pass every visual check at the factory, look flawless when it arrives at the distributor's warehouse, and still develop visible joint lines well after the customer has installed it and moved on to the next project. By the time the complaint reaches a supplier, the paint has fully cured, the environment has cycled through at least one seasonal humidity swing, and the joint pattern has had time to telegraph through incrementally rather than all at once.
We've seen this pattern often enough in our own production to know it isn't a one-off defect — it's a predictable characteristic of how paint interacts with a jointed substrate over time. Understanding the mechanism is the first step to controlling it.
Why Does a Finger Joint Absorb Paint Differently Than the Wood Around It?
A finger joint has a different local density than the surrounding solid wood, which means it absorbs paint at a different rate — and that absorption difference becomes visible once the coating has fully settled and cured.
At the joint itself, wood fibers are cut, glued, and pressed together at an angle rather than running continuously with the grain. This changes how porous that specific strip of material is compared to the wood on either side of it. When primer and topcoat are applied, the joint area pulls in slightly more or less coating material than the surrounding wood, depending on species and joint geometry. Early on, while the film is still level and freshly applied, this difference is invisible. As the coating cures and the wood beneath continues its normal micro-movement with seasonal humidity, that underlying density difference telegraphs through the surface — literally transmitting the shape of the joint upward through the paint film, the same way a signal telegraphs through a wire.
Where the paint film is thin — under 80 microns of dry film thickness — this effect is most pronounced. Thin coating simply has less material to mask the underlying variation, so any density difference at the joint reads through more clearly and sooner.
Does Joint Spacing or Placement Affect How Visible Telegraphing Becomes?
Yes — the finger joint's own dimensions and gap tolerance set the baseline for how much surface irregularity the coating has to hide in the first place, before film thickness even comes into play.
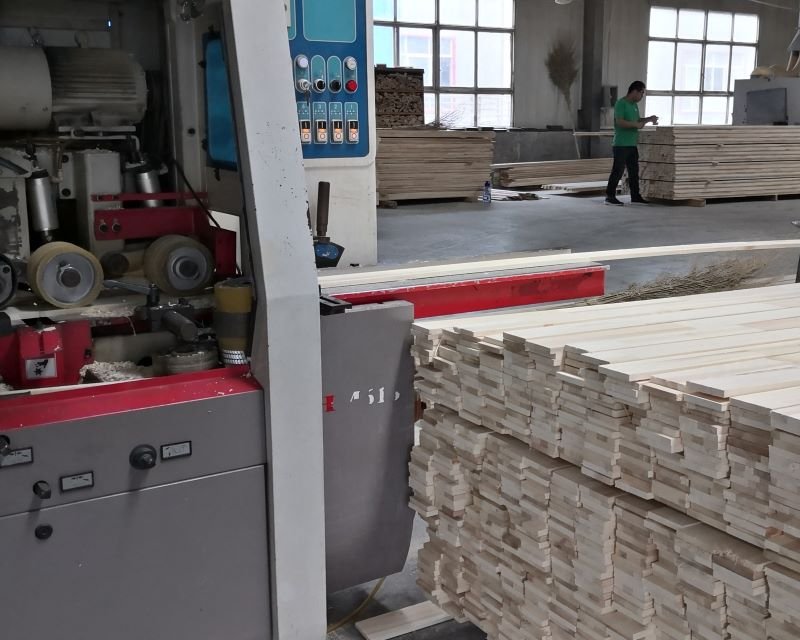
Not all finger joints are cut the same way. Decorative-grade joints — the kind used in baseboard, casing, and trim profiles — are typically cut to a pitch of 8–12mm with fingers 8–12mm long. Structural-grade joints, used in load-bearing components like door frames, are cut wider: pitch and finger length of 20mm or more, generally paired with a different adhesive system suited to structural loads (a distinction we cover in more depth in a separate piece on adhesive selection for door frame moulding). For telegraphing purposes specifically, what matters most is that decorative-grade joints occur more frequently along a given length of moulding, which means more individual points where a density difference can potentially surface — though each point is smaller than what you'd see in a structural joint.
Seam gap tolerance is the other upstream variable. A tighter, cleaner glue line simply gives paint less surface irregularity to reveal:
| Parameter | Decorative-Grade Joint | Structural-Grade Joint (door frames) |
|---|---|---|
| Pitch | 8–12mm | ≥20mm |
| Finger length | 8–12mm | ≥20mm |
| Seam gap — optimal grade | <0.3mm | <0.3mm |
| Seam gap — standard grade (upper limit) | <0.5mm | <0.5mm |
| Seam gap — reject threshold | ≥0.5mm | ≥0.5mm |
One more upstream rule worth knowing: joints are not permitted to land on a knot position, because a knot at the joint line reduces tensile strength by 40–60%. That requirement exists primarily for structural reasons, but it has a secondary benefit — it keeps the joint's surrounding surface texture more consistent, which supports more even paint absorption at the joint line.
How Much Dry Film Thickness Is Enough to Prevent It?
Bringing UV primer up to a 100–120 micron dry film thickness, combined with a second sanding and re-priming pass at the joint, is the specific combination we use to control telegraphing — and it measurably cuts the complaint rate.
Standard UV primer application across our production generally falls in an 80–120 micron range, which is fine for most flat, non-jointed surfaces. For finger-jointed moulding destined for paint-grade use, though, we push toward the top of that range and add a targeted second step: after the initial primer cures, we sand the joint locations specifically at 320 grit and apply an additional coat of primer before the topcoat goes on. This isn't a blanket resanding of the whole profile — it's a focused pass at the joint lines where density differences are concentrated.
| Approach | Target DFT | Extra Process Step | Telegraphing Complaint Rate |
|---|---|---|---|
| Standard single-pass UV primer | 80–120 microns | None | 3–4% |
| Our process: thicker UV primer + 320-grit joint resand + second primer coat | 100–120 microns | +8–12% coating labor time | <0.5% |
That added process step costs roughly 8–12% more coating labor time per run. In our production, that trade-off has moved the telegraphing complaint rate from the 3–4% range down to under 0.5% — a difference significant enough that we treat this as a standard step for finger-jointed products headed for painted applications, not an optional upgrade. For a buyer placing a container-scale order, that gap between 3–4% and under 0.5% translates directly into how many pieces come back as complaints months after the container has already cleared customs and moved through a distribution network — a cost that's much harder to absorb after the fact than a small increase in coating time up front.
Does Telegraphing Mean the Moulding Is Defective?
No — telegraphing is a known characteristic of painted finger-jointed products, not a sign of a manufacturing defect, and any finger-jointed moulding sold for stain-grade or clear-finish use has a related, unavoidable limitation worth understanding separately.
It's worth being direct here, because vague reassurance doesn't help a buyer make a real decision. Finger-jointed moulding is, by its nature, only suited to paint-grade (primed or fully painted) applications — the joint line is visible under a clear or semi-transparent finish regardless of how precisely it's cut or glued. That's a structural limitation of finger-jointed construction itself, not a quality issue specific to any one supplier's process. If a project calls for a clear-coat or natural wood-tone finish where the grain and joinery are meant to be visible, finger-jointed moulding is the wrong product category — solid wood is the appropriate choice instead.
Within paint-grade applications specifically, though, telegraphing is a controllable variable. A supplier who applies standard single-pass primer at minimum thickness and skips the secondary joint treatment will likely see it emerge over time. A supplier who builds film thickness, cuts to tighter gap tolerances, and does the targeted resand step is managing a known risk rather than gambling on it not showing up until after the sale.
What Should You Ask a Supplier Before Ordering Painted Finger-Jointed Moulding?
Ask what dry film thickness they target at joint locations specifically, what seam gap tolerance they cut to, and whether joints receive any secondary sanding or priming pass — the answers together tell you whether telegraphing has been engineered against or left to chance.
A supplier who can give you specific micron and millimeter targets, and describe an actual joint-focused process step, is one who has run into this issue enough times to have built a standing procedure around it. A vague "our paint quality is excellent" answer, without any mention of film thickness, gap tolerance, or joint-specific treatment, is worth following up on before you commit to a large order — especially for door and window manufacturer programs where joints carry both cosmetic and structural expectations.
That second point — structural expectations at the joint — is a separate question from what we've covered here. The adhesive system used at a finger joint (PVA versus PUR) determines how that joint performs under load, not how it looks under paint. We'll walk through that distinction, and why it matters more for door frame applications than for decorative trim, in a follow-up piece.
For now, if you're specifying painted finger-jointed door casing or architrave for a current program, it's worth confirming the finish specification directly.
Ask about PUR-bonded door frame specs and joint-level coating standards before your next order — we're glad to walk through exactly how our finish and joint process handles this on your specific profile.
Frequently Asked Questions
Does telegraphing mean the moulding needs to be replaced? Not necessarily. Telegraphing is a surface-level finish characteristic, not a structural failure — the joint itself remains sound. Whether replacement is warranted depends on the visual standard the project requires and how visible the lines have become, not on any safety or performance concern.
Can telegraphing be prevented completely, or only reduced? Based on our production data, it can be significantly reduced but not guaranteed to zero. Our combination of increased dry film thickness and a targeted joint resand brings the complaint rate from 3–4% down to under 0.5% — a meaningful improvement, but not an absolute elimination of the underlying density-difference mechanism.
Is telegraphing a sign of poor glue quality? No. Telegraphing is caused by differences in how the joint area absorbs paint compared to the surrounding wood — a coating and substrate interaction, not an adhesive bonding issue. Glue strength and joint appearance under paint are two separate variables.
Does telegraphing happen with solid wood moulding too? No — telegraphing is specific to finger-jointed products, because it originates at the joint line itself. Solid wood moulding has no joints, so this particular mechanism doesn't apply, though solid wood carries its own separate set of finish and stability considerations.
Can finger-jointed moulding with a clear or stain finish avoid telegraphing by using a thicker coating? No. Finger-jointed moulding is not suited to stain-grade or clear-finish applications at all — the joint line remains visible under transparent coatings regardless of film thickness. The dry-film-thickness approach described here only applies to opaque, paint-grade finishes, where the coating itself hides the joint rather than revealing it.